Hyperion Enterprise
Introduction
One of the data-sources for the CXO-Cockpit is Oracle Hyperion Enterprise (HE). Data and meta-data from an HE application can be extracted, transformed and loaded into the CXO-Cockpit multi-dimensional OLAP database. This article describes the components and processes involved. We support all HE versions.
Creating a CXO-Cockpit database from a Hyperion Enterprise application
Creation of a CXO-Cockpit database includes the following steps: 1. Loading meta data by importing an application extract; 2. Defining the dimensionality of the CXO-Cockpit application on the basis of the meta-data; 3. Loading data-extracts and processing the data for use in the CXO-Cockpit application
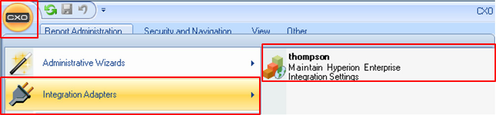
All these tasks can be done by selecting ‘Maintain Hyperion Enterprise Integration Settings’ from the Integration Adapters option in the window:
Loading an Application Extract
First, you need to load a meta-data extract. In the CXO Design Studio. Press the  button to locate the application extract. Usually this is a filename with extension .asc.
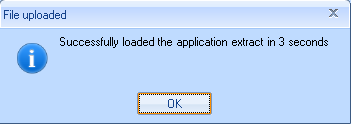
Enter the correct path and press “Load”:

Wait untill the message:
Defining the dimensionality and detail of the Cockpit
The level of detail of the Cockpit dimensions (Entity, Account, etc.) is determined on two independent occasions:
- Level of detail specified in Hyperion Enterprise (HE) when you create one or more data-extracts;
- Level of detail specified in CXO Design Studio.
The second is described here. Later in this document we will give some hints for creating a relevant data extract.
Entity Selection
Entity selection (determining the ultimate depth and richness of the Entity-hierarchy in the Cockpit) is completely determined by:
- Selecting one or more Organizations;
- Specifying entity attributes: Codes, Chart-methods and Currencies
- Selecting or de-selecting Substructure detail
Organizations
Press the  button.
Select one or more Organizations and make one of them the Default organization. If you select more than 1 organization, then we put a top-entity above these organizations. The amounts shown for this added top-entity are then taken from the Top Entity of the Default organization:
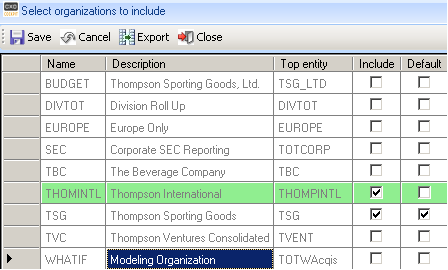
Press Save and Close.
Selection Attributes
Press the  button:
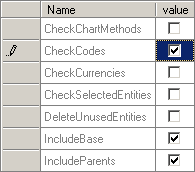
Here you can indicate which additional selection criteria you want to apply:
- Only include entities with certain codes
- Only include entities with certain chart-methods
- Only include entities with certain home-currencies
- On the basis of the loaded data: don’t include entities that never occur in the data-extract
- Manually select entities (CheckSelectedEntities; not yet available: leave unchecked)
- Include base-enties and / or parent-entities
If you, for example, want to select on the basis of Codes, then the  button will be enabled. If you press this, you will be able to list the codes:

(None means: entities without a code).
Sub-entities
If sub-structures are defined in the HE application, then you can select one or two sub-entities from each structure. If you do not select any sub-entities then also the entities with a sub-structure will be excluded.
Press the  button:
An overview of all substructure will be shown.
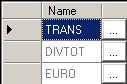
By pressing you can select sub-entities:
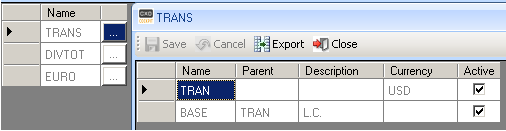
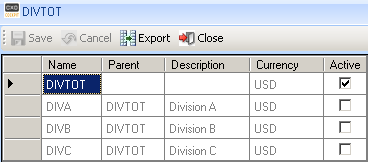
You can select up to 2 sub-entities from a substructure. An important condition is, however, that these 2 sub-entities have a different Currency. In the above example, the TRAN sub-entity is in US$, whereas the BASE sub-entity is in the currency of the Entity. Hence, we can select them both.
From the DIVTOT structure we can only select 1 sub-entity: they are all in US$.
Category Selection and Mapping
Selecting Categories
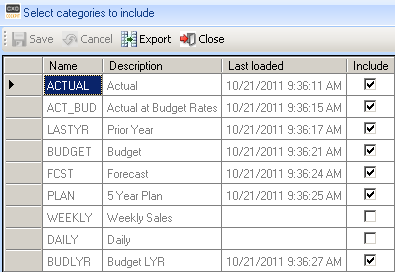
By pressing  button we can indicate for which Categories we intend to load data:
After saving we will see on the main page:
indicating that we want to load these categories.
Mapping Categories
The combination of an Enterprise Category and the periods related to that category must be mapped onto a CXO-Cockpit Category, @rate (Actual-rate, Budget-rate, etc.), Version (e.g., version 2 of a forecast), Year and Period:
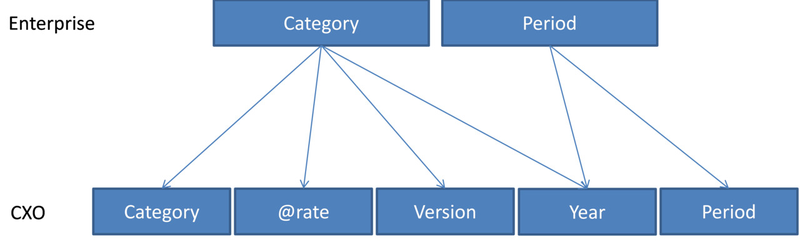
In the Cockpit we have a fixed Period hierarchy of Year-HalfYear-Quarter-Month (including a p13 if necessary). Mapping of an Enterprise period must always be done on the Month-level of the Cockpit period (so Q2 will be mapped on June, being the last month of the quarter).
The Category, @rate, Version and Year dimensions can be maintained with the buttons:
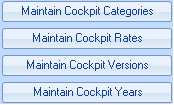
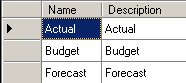
E.g. Categories:
@rates:
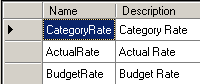
(we mostly use ‘Category Rate’ indicating that we want the Category in its own rate)
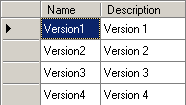
Versions:
To map the HE-categories, press the  button:
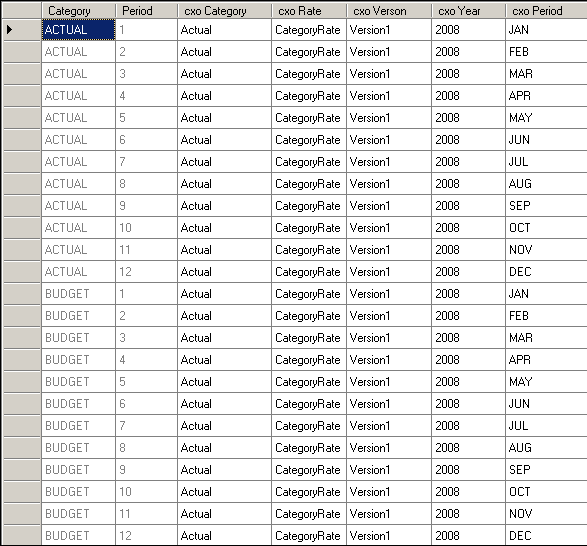
The system will make a first guess about the mapping (based on HE meta-data). In the above example, the guess is OK, except that the BUDGET HE-Category must be mapped to the Budget cxo Category. This can be done by moving to the cxo Category cells, click on it and select the correct Category. In this example it must look like :
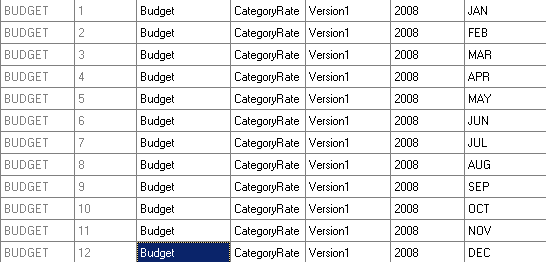
In general, notice that the series cxo Category – cxo Rate – cxo Version – cxo Year – cxo Period must be unique. Otherwise you will get errors about unique-key violations further in the process.
Account Selection and Mapping
In the CXO-Cockpit we select accounts by selecting Account Groups.
Press  button:
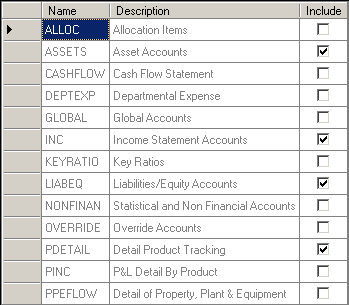
and check the boxes of the account groups that you want to include.
Based on this selection, you can also select sub-accounts by selecting sub-tables (level 1 and level 2). In case of the above example the following list of sub-tables is available for selection (press the  button):
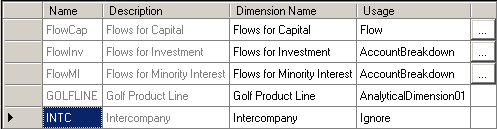
A sub-table can be:
- Ignored
- Considered as an account-breakdown (like in HE)
- Mapped to a CXO-Cockpit analytical dimension (1 … 6)
- Mapped to one of the pre-named dimensions Flow, GAAP or Measure
If the button is visible (e.g., FlowCap) then this indicates that one or more of the sub-accounts have a further breakdown to a sub-sub-table. Press on to select or de-select this further detail.
E.g. for FlowCap:

Selecting means either a third layer in the account-dimension or a second layer in the mapped CXO-Cockpit dimension.
Loading Data
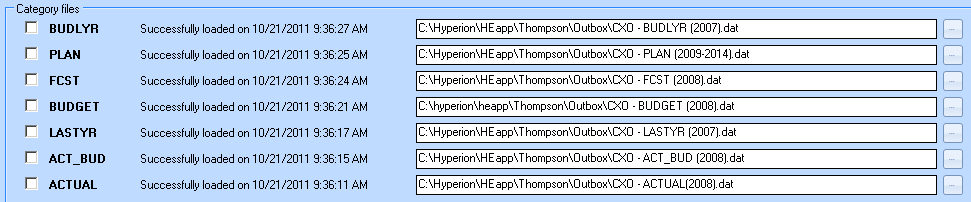
First locate the data-files that correspond to the selected Categories:
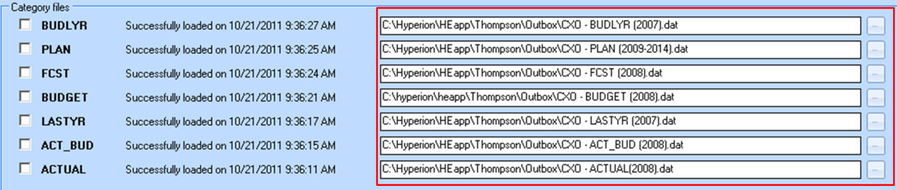
Check the boxes for inclusion:
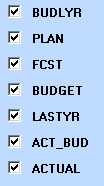
Execute the data-load:
After the data-load, the raw data has to be transformed to make it suitable for analysis:
![]()
Finally, the data has to be inserted into the Analysis Services database:

The above actions can also be combined by checking all 3 boxes and press Execute.
You can now close the Integration Window (use the ‘x’). The following error will show up in the Preview Panel:

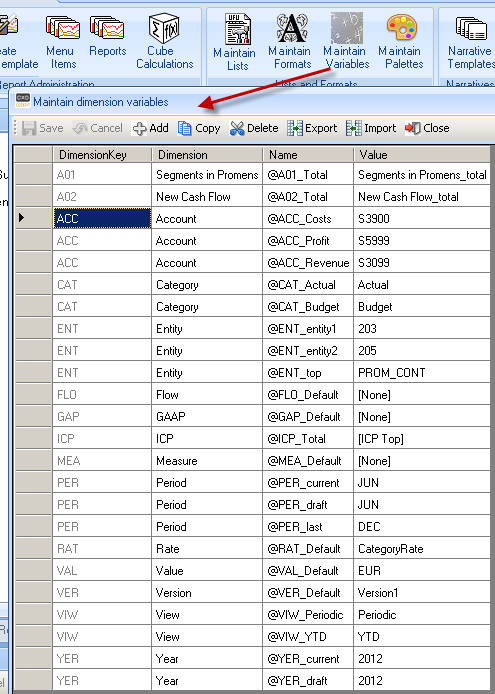
This error is related to the fact that the newly loaded dimensions and data do not match with the definition of the lists and reports, which were based on fake data. This can easily be repaired by setting proper values to a couple of key-variables:
Adding depth to Subaccount Tables
With the attached Excel-sheet you can upload Parent Child relations for Subtables to a specific table in the SQL database. This enables an additional drill down layer to the Account Dimension.
Installation Prerequisites
You can find the Installation Prerequisites file for Hyperion Enterprise in this article.
CONTENT